Posted in DIY, Home Improvement

We have a new screen room!

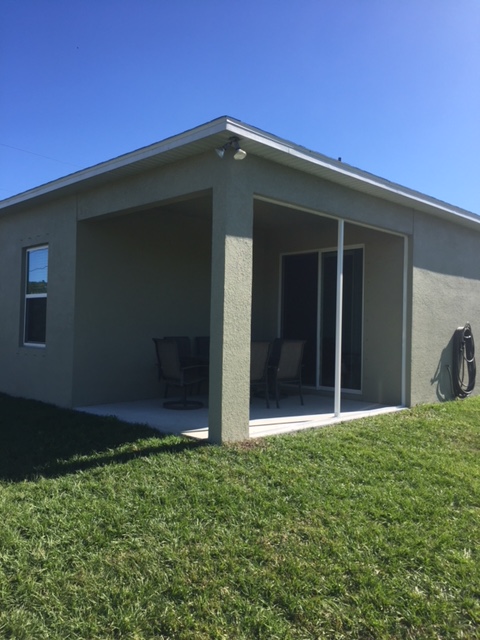
When we had our house built last year, we were able to pick from some upgrades.  Most of the upgrades were reasonably priced, but some were not.  Our back patio has a covered roof and two of the walls are walls from our home.  So, the only part of our patio that needed to be screen was two side walls.  The builder was charging more that what we thought was reasonable for the price, so my hubby decided to take on the project himself.   He started by putting up some of the metal that would divide the panels for the screen.

IMG_1425

Then he put up the adjacent side and added a door.

IMG_1431

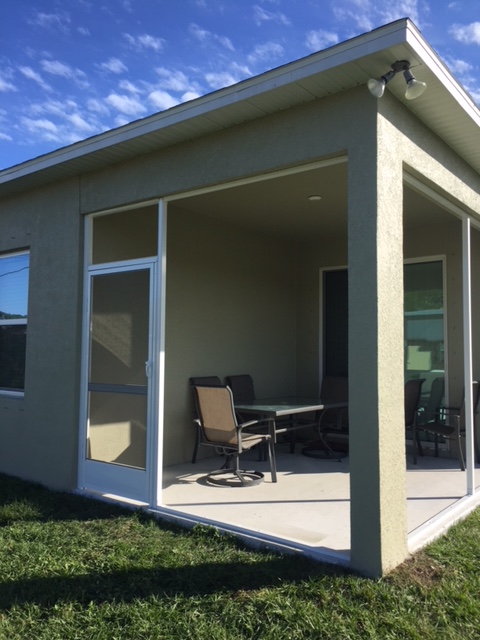
Then he installed the kick plate at the bottom.   This will help my doggie from going through the screen.

IMG_1441

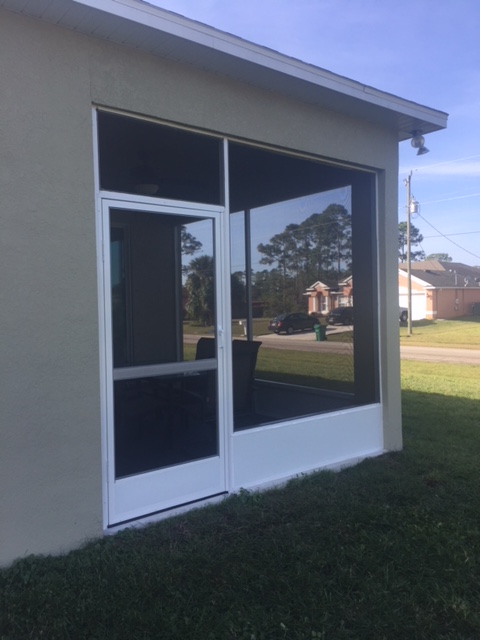
Once he was done with installing the metal, he added the screen.


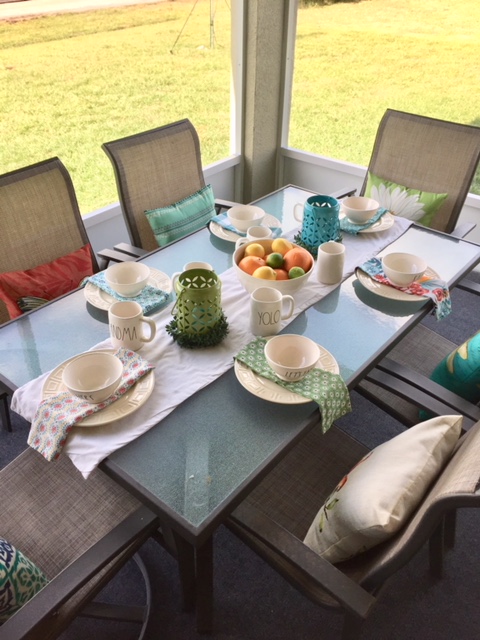
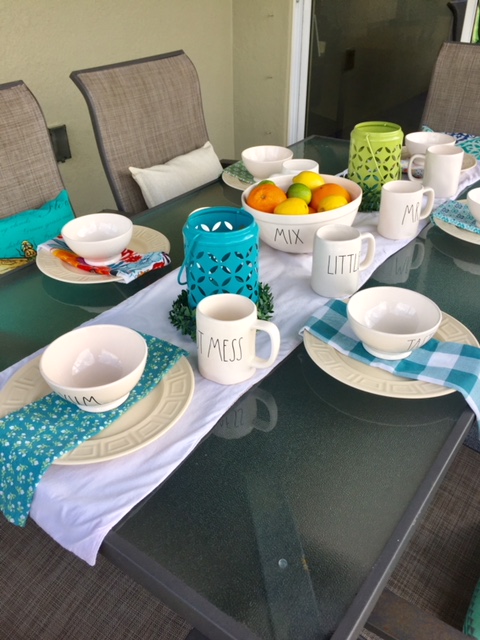
He then caulked in around all the edges, so we wouldn’t get any unwanted critters in our screen room.  We live in South Florida, so lizards and tree frogs are everywhere, and I sure don’t want them in my screen room.   We added some indoor/outdoor carpet and an outdoor ceiling fan to make it feel more like a room.  When he was finished, of course, I had to style it.

IMG_3672

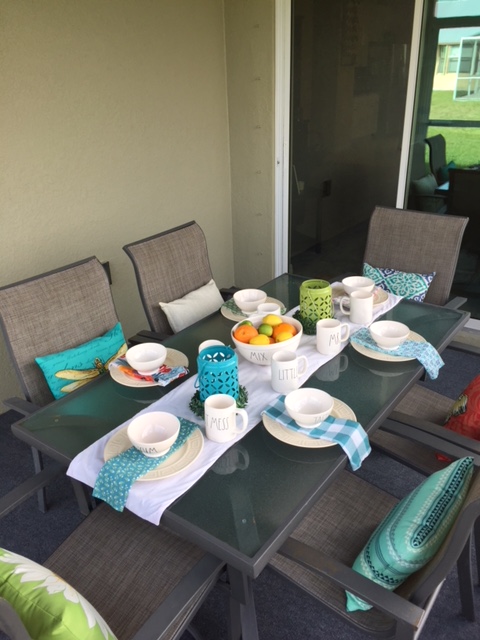
I think I came out beautiful and we have been having so many meals out here.  It is such a great time of the year to sit on the patio.  I hope to have many great family dinners here.

IMG_3677

IMG_3675

IMG_3674


Posted in Home Improvement

Laundry Room Cabinet

Our house is builder grade, so I am always trying to customize it anyway I can.  This cabinet was a upgrade option when we purchased the house, but the builder was asking a ridiculous price, so we decided to add it ourselves.  We purchased the cabinet at Home Depot.  We were also able to purchase a premade countertop.  We chose an unfinished cabinet, because it was about $100 cheaper.

IMG_2368

Here is a before picture of the countertop:

IMG_2367

Even though it was only a laundry room cabinet, I still wanted the finish to look nice.  That’s why I chose to spray paint it instead of using a brush.

IMG_2370

As you can see, it has a lot of room to store all my stuff.  I love the drawer.

IMG_2379

Here is the space that the cabinet needed to go.  This is directly behind my door in the laundry room.  I think it was a great spot for some storage.

I took the drawer and doors off of the cabinet and took them outside to paint.  I was careful to only paint the outside.  Since it is going in a nook in my laundry room, I didn’t really need to paint the sides of the cabinet.


After the paint was dry, we installed the cabinet into the space.  My hubby helped with this.  He found the studs on the wall and anchored the cabinet to the studs. Then we used a circular saw and cut the countertop to size. We used adhesive to glue down the countertop and caulked it in.

And here is the finished product!!

IMG_2800

I love it!  It gives me so much storage in my laundry room.  It ended up costing us around $200 for everything, which I thought was a deal.  The builder was going to charge $800 for this.  I think we made the right choice.