Posted in DIY

Laundry Soap DIY

Having a family of 4, I found myself going through a large container of laundry soap each week.  Let’s face it… laundry soap is expensive!  So, I decided to search for a DIY laundry soap recipe.  I found an overabundance of various methods, so I decided to come up with my own.  I usually like to use a wet detergent instead of a powder.   Here’s how I made it:
 
Ingredients:
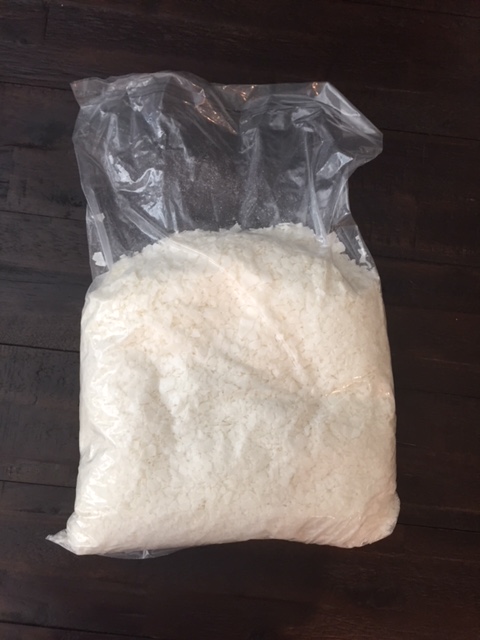
1 Fels Naptha soap bar
1 cup of Arm and Hammer Washing Soda
1 Cup of Borax
1 18 oz. container of Purex laundry crystals
1 five gallon bucket (cause it makes a lot!)
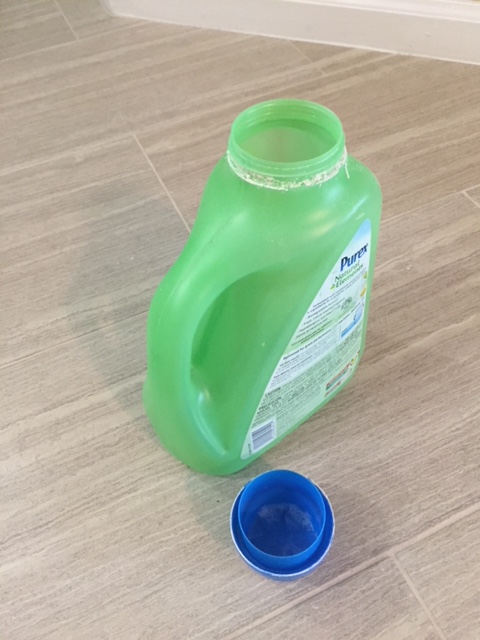
1 used laundry soap container
1 kitchen grater
 IMG_1092
Directions:
 
Grate the bar of Fels Naptha into a small saucepan. 
Fill the rest of the pan with water.  (about 4 cups)  Heat the saucepan over medium heat until the grated soap is dissolved.  Remember to stir occasionally. 
IMG_1098
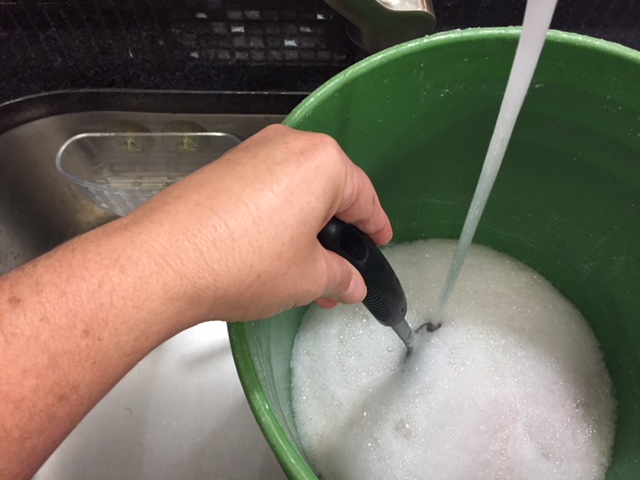
In the mean time, add all other soap ingredients to the five gallon bucket. 
IMG_1104
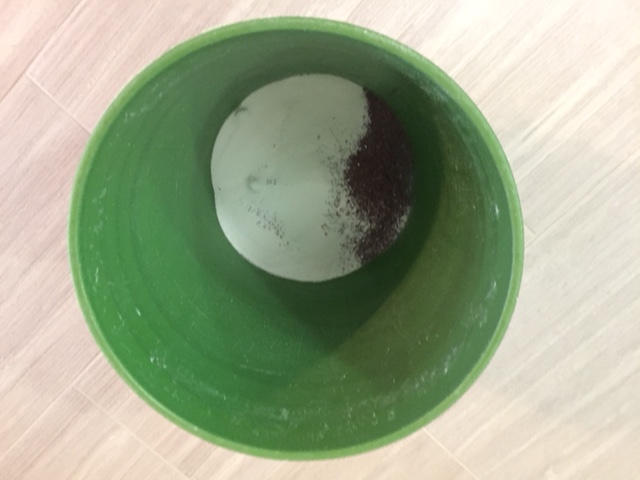
Then add the granted hot soap mixture to the bucket. 
IMG_1113
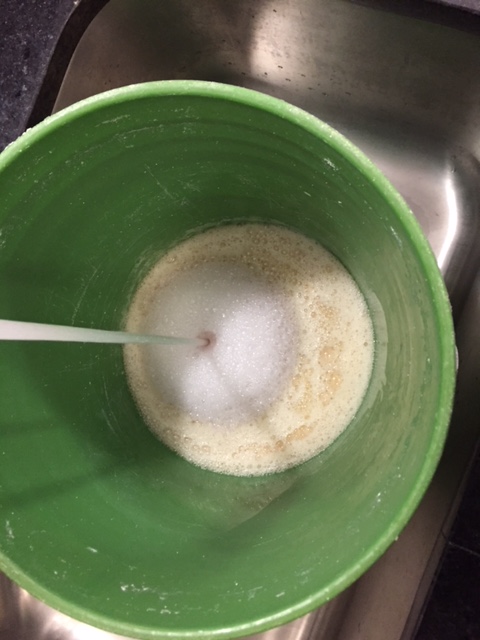
Fill the rest of the five gallon bucket with hot tap water.   And stir until the soap is dissolved. 
IMG_1114
Cover and let this mixture sit overnight.  I will thicken by morning. 
IMG_1101
Finally, fill your used laundry soap container halfway with the soap mixture.  Then fill the rest of the way with warm water. 
IMG_1107
Make sure you shake the mixture each time you use it.  This makes 10 Gallons!!!
 
Happy Washing friends! 


Posted in DIY

Candles, Candles and Candles!

I made some candles today! I have seen homemade candles before and have always thought….. I can make those! So, I did.


I bought the mason jars from Walmart. They seem to have the best price. Of course, if you had some vintage jars that would be sweet! I started with the wax. You can buy wax chips on Amazon.  I choose the white.

IMG_2183

I also purchased some fragrance oils and a liquid dye set so that I could scent the candles and change the color.

IMG_2185

IMG_2184

I used an old pot to heat up the wax. I used about 2 ½ cups of the wax chips for one medium Mason jar.

Once the wax was completely melted, I added about 2 to 5 drops of the fragrance and around 2 to 5 drops of color. I stirred it till the dye and fragrance was completely mixed.

In the meantime, I had to affix the wick to the jar.  I also bought the wicks from Amazon. I held the wick in place by using two clothespins. I’m sure there is a better way, but this worked for me.

IMG_2177

IMG_2187

IMG_2190

IMG_2188

When the wax was ready, I poured it into the mason jar. Then you just let it set until the wax hardens (about an hour) and tada!

IMG_2218

These candles are so cute and smell delicious! I’m not sure if I’m going to keep them or use them for gifts. I added some cute ribbon for decoration. They are adorable!

IMG_2220

Posted in DIY, Home Improvement

We have a new screen room!

When we had our house built last year, we were able to pick from some upgrades.  Most of the upgrades were reasonably priced, but some were not.  Our back patio has a covered roof and two of the walls are walls from our home.  So, the only part of our patio that needed to be screen was two side walls.  The builder was charging more that what we thought was reasonable for the price, so my hubby decided to take on the project himself.   He started by putting up some of the metal that would divide the panels for the screen.

IMG_1425

Then he put up the adjacent side and added a door.

IMG_1431

Then he installed the kick plate at the bottom.   This will help my doggie from going through the screen.

IMG_1441

Once he was done with installing the metal, he added the screen.


He then caulked in around all the edges, so we wouldn’t get any unwanted critters in our screen room.  We live in South Florida, so lizards and tree frogs are everywhere, and I sure don’t want them in my screen room.   We added some indoor/outdoor carpet and an outdoor ceiling fan to make it feel more like a room.  When he was finished, of course, I had to style it.

IMG_3672

I think I came out beautiful and we have been having so many meals out here.  It is such a great time of the year to sit on the patio.  I hope to have many great family dinners here.

IMG_3677

IMG_3675

IMG_3674


Posted in DIY

Buffalo Check Chair

My daughter loves to craft.  She spends hours working on crafts in our craft room.  She had a small desk and old chair that she used.  They were really small,  so she asked for a new desk and chair for Christmas.  I used to share her chair whenever I needed a chair to sew, so I decided to repurpose her old chair.  It was old and really dirty, but with a little TLC, I knew it could be great.  Here is what the chair used to look like….


I started by taking the seat and the back of the chair off.  The rest of the chair was in great condition, so it didn’t need any work.

I had some left over buffalo check material, and thought that would be perfect!  I used by commercial staple gun to recover the existing backing.

IMG_3553

I started by cutting a piece of material big enough to recover each section.

Next, I started stapling.  I started on one side of the cushion, then I stapled the opposite side, making sure that I kept the material tight.

IMG_3549

Then, I stapled the corners.  This can be a little tricky.  You need to make sure that you fold each corner in, almost like pleats are you are stapling.  You will still need to make sure that the material is tight so that you don’t have any excess material on the front side.


I did this same procedure to the back and bottom on the chair.


Once this was completed, I trimmed the edges to make sure they didn’t show.


Finally I reattached the cushions back on the chair and taaa-daaa!  It looked like a brand new chair.  (Only waaay better!)


How cute is this!!!  And look how great it looks next to my sewing machine cabinet.


It was such a fun project and so easy.


Posted in DIY

Homemade Christmas tags

Don’t throw away those Christmas cards!  I have the perfect DIY for them!  For years, I have been throwing away my Christmas cards, but I finally found a way to recycle them.  I am using them to make tags for my gifts for next year.    They are soooo easy.  First, I look at the front of the cards to see which ones that I can cut to make a pretty tag.  Some of them have writing on the back, so those ones can not be used.

img_1362.jpg

Then I use my paper cutter to cut the picture out.

IMG_3565

Once the pictures are cut out, I use a hole punch to add a hole to each corner of the tag.

IMG_1370

Then I add some pretty twine and tie a knot to hold it.

IMG_1369

And here is the finished product….. How cute are these?

IMG_3566

They are adorable.  I got so many complements on them this year.  Make sure you save those cards for this great DIY.  They add great charm to your gifts.

IMG_1371

Here is an example of one that I used on a gift this year….

IMG_3402

IMG_3400

Have fun with this.  It’s a simple craft and my daughter loved helping me with it.

What a great way to recycle and reuse!


Posted in Home Improvement

Laundry Room Cabinet

Our house is builder grade, so I am always trying to customize it anyway I can.  This cabinet was a upgrade option when we purchased the house, but the builder was asking a ridiculous price, so we decided to add it ourselves.  We purchased the cabinet at Home Depot.  We were also able to purchase a premade countertop.  We chose an unfinished cabinet, because it was about $100 cheaper.

IMG_2368

Here is a before picture of the countertop:

IMG_2367

Even though it was only a laundry room cabinet, I still wanted the finish to look nice.  That’s why I chose to spray paint it instead of using a brush.

IMG_2370

As you can see, it has a lot of room to store all my stuff.  I love the drawer.

IMG_2379

Here is the space that the cabinet needed to go.  This is directly behind my door in the laundry room.  I think it was a great spot for some storage.

I took the drawer and doors off of the cabinet and took them outside to paint.  I was careful to only paint the outside.  Since it is going in a nook in my laundry room, I didn’t really need to paint the sides of the cabinet.


After the paint was dry, we installed the cabinet into the space.  My hubby helped with this.  He found the studs on the wall and anchored the cabinet to the studs. Then we used a circular saw and cut the countertop to size. We used adhesive to glue down the countertop and caulked it in.

And here is the finished product!!

IMG_2800

I love it!  It gives me so much storage in my laundry room.  It ended up costing us around $200 for everything, which I thought was a deal.  The builder was going to charge $800 for this.  I think we made the right choice.


Posted in Recipes

Homemade Salsa

This salsa is scrumptious and best of all, it is made with all natural ingredients!   Here is how I made it:

2 tubs of grape tomatoes

1 small red onion

1 jalapeno (2 if you like a little spice in your life)

1 bunch of cilantro

2 limes

2 tablespoons of crushed garlic

1 splash of hot sauce

Salt and pepper to taste

IMG_0477

I started by quartering the grape tomatoes.

IMG_0480

Then I finely chopped the red onion. Next, add both of these ingredients to a mixing bowl.

Then I finely chopped the jalapeno.  (Take caution when cutting a jalapeno.  If you don’t wash your hands immediately, your skin can start to burn.)  I cut off the stem and then cut the jalapenos in half.

IMG_0482

I made sure to remove the seeds.  The seeds add a lot of heat, so I make sure I dispose of them.

IMG_0483

I finely chop the jalapenos and add them to the mix.

IMG_0485

Next, comes the cilantro. Most people have either a love or hate relationship with cilantro, and I happen to love it.  After I finely chop the cilantro I toss it in the bowl.

IMG_0486

It’s really starting to look yummy!  Now, you will need some lime juice.  I cut two limes in half and squeeze all the juice into the bowl.  I have a handy  lime/lemon squeezer, but you can also use a fork.  Just insert the fork into the halved lime and twist.  It will definitely help squeeze all of the deliciousness out of the lime.

My handsome beagle, Murphy is trying to photo bomb my picture.  Or maybe he just thinks he’s getting a bite.  Ha!

IMG_0488

I finished by adding a couple of dashes of hot sauce and salt and pepper to taste.  Chill this for an hour for better flavor.  This salsa is a must for Taco Tuesdays at our house.  You can also add a couple of chopped avocados for a yummy guacamole.  Ole!

IMG_0490